PropFade is an AI real estate video maker that converts listing photos into finished videos across three formats: 9:16 portrait for Reels and TikTok, 1:1 square for the feed, and 16:9 landscape for your listing page and YouTube. Upload the photos, confirm the listing details, and export in about two minutes.
This page covers the three-step make flow, the video types that fit a photo-first listing workflow, a comparison against top alternatives, and the export specs to check before you publish. The real estate video hub has the full program.
Make a listing video in three steps: photos to finished video
Upload photos, confirm the listing details, and export. The workflow animates each photo with motion, drafts a voiceover from the listing details, adds captions, and renders all three formats in about two minutes.

5 listing photos
1 finished video
-
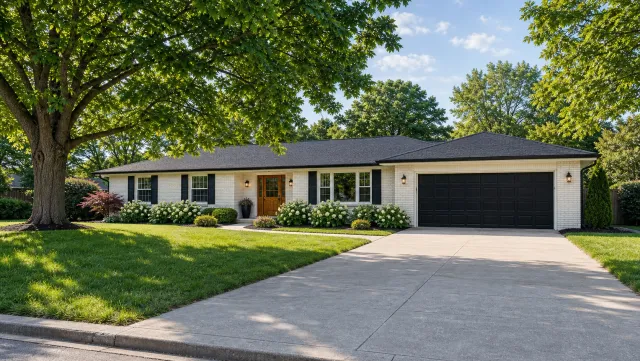
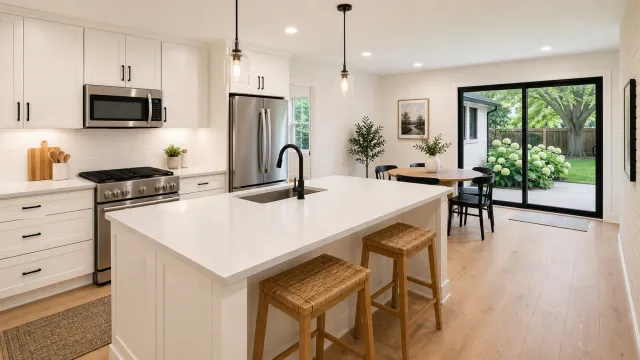
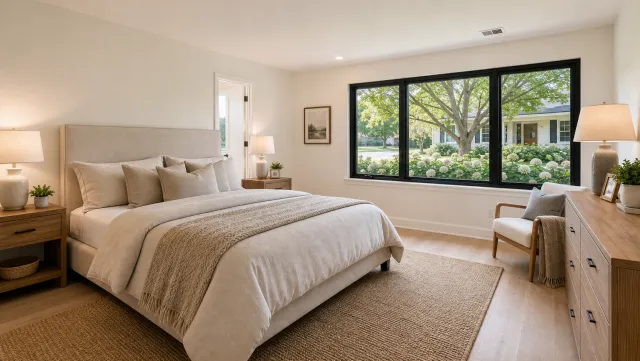
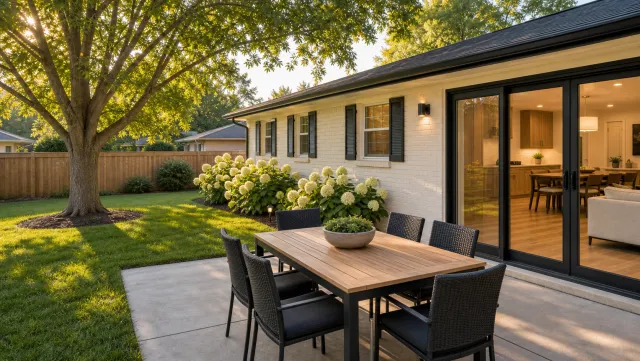
Upload 12 to 20 listing photos. Use JPEG and PNG files from any MLS export, camera roll, or photo editing app. Order the photos in buyer-walk sequence: exterior approach first, then the main living spaces, then the primary suite, then the standout feature, and the exterior again as the close.
-
Confirm the listing details. Enter the price, bedroom and bathroom count, address, and your name before rendering. Those facts drive the voiceover draft and the on-screen captions, so check abbreviations, school-zone references, and price formatting before export.
-
Export in all three formats at once. The same project renders a 9:16 portrait cut for Reels and TikTok, a 1:1 square cut for the feed and email, and a 16:9 landscape cut for your listing page and YouTube. Review each crop before posting so captions and room details stay visible.
This workflow fits any listing where filming is not practical: vacant homes, a full showing calendar, bad weather, or several listings that need social video in the same week. You work from the MLS photo set you already have.
For listings where you have filmed footage, the real estate video editor guide covers manual cuts, captions, pacing, and export decisions.
What you can make: walkthrough tour, social reel, and neighborhood video
The same photo-first workflow can support a property walkthrough tour, a just-listed social reel, a neighborhood-context video, and a short agent intro. Each targets a different stage in the buyer’s discovery path, and each starts from the same ordered listing-photo set.
Property walkthrough tour. The tour runs 60 to 90 seconds and moves through the exterior, the key rooms, and the standout feature in buyer-walk order. Slow motion on each photo helps the home read as a live space rather than a static gallery. This format anchors the listing page, fills the MLS video field, and performs steadily on YouTube.
Just-listed social reel. A 15 to 20 second reel leads with the three or four strongest photos and places the price and address in the lower third. Post the 9:16 cut to Reels and TikTok within the first 24 hours of the listing going live, when buyer attention is highest, and use the 1:1 cut in the Instagram feed and email.
Neighborhood spotlight. A 30 to 45 second video pairs listing photos with captioned neighborhood context: the school zone, the walkable strip, the local park. This format answers the “what’s the area like?” question buyers ask before booking a showing and performs well in DMs and Reels.
Agent intro. A 20 to 30 second clip introduces the agent by name and market specialty, layered over listing or neighborhood photos. Keep this direct: market, property type, and how buyers should book a showing. Pin this format to the top of your Instagram and TikTok profiles so it plays for every new visitor.

5 listing photos
1 finished video
Finished examples across property types sit in the real estate video examples section. For agents who want to edit video after export, the ai real estate video editor guide covers where automation helps and where manual review still matters.
Real estate video maker comparison: PropFade versus top alternatives
PropFade, AutoReel, InVideo, Animoto, and Momenzo each produce listing videos and differ on input type, voiceover automation, and export formats. The table below maps the key factors.
| Feature | PropFade | AutoReel | InVideo | Animoto | Momenzo |
|---|---|---|---|---|---|
| Primary input | Photos | Photos and clips | Clips or text-to-video | Photos and clips | Photos and clips |
| AI voiceover from listing facts | Yes, automatic | Manual upload or script | Optional AI text-to-speech | No, music only | Optional manual |
| Multi-format export in one step | 9:16, 1:1, 16:9 | Format-by-format | Format-by-format | Format-by-format | 9:16 primary |
| Real estate-specific workflow | Photo-to-video workflow | Yes | General and real estate | General | Yes |
| Listing details auto-captioned | Yes | No | No | No | Partial |
| Best fit | Photo-only workflow | Mixed photo and clip workflow | General video creators | General video creators | Mobile-first agents |
Features and pricing on each platform change regularly. Check each site for current offer terms before selecting a subscription.
Read the comparison from your source material backward. If the listing already has professional photos and no filmed footage, prioritize a photo-first workflow, automatic narration, and one-step exports for all required aspect ratios. If you already film every listing on a phone or gimbal, prioritize trimming controls, manual captions, music timing, and clip organization. Agents who publish mostly to Reels and TikTok need a vertical-first review screen; agents embedding video on listing pages need a clean 16:9 output as well.
The best tool is the one that removes the bottleneck you actually hit each week. For solo agents, that is often production time. For teams, it is usually standardizing output across agents so every listing launches with the same minimum video package.
For a full breakdown of desktop and browser editors, the video editing software for real estate guide covers the leading options.
Photo-to-video specs to check before publishing
A real estate video maker is useful only if the finished video survives the practical publishing checks agents run every week: crop, captions, listing accuracy, and channel fit. Use this section as your final review before sending the video to social, email, or the listing page.
Photo order. Start with a strong exterior or hero interior, then move through the property in the same order a buyer would walk it. Avoid jumping from kitchen to exterior to bedroom and back again. If the MLS photo set is cluttered, narrow it to the clearest 12 to 20 images before rendering.
Listing facts. Check price, beds, baths, address, neighborhood name, brokerage name, and showing language before export. The voiceover and captions depend on those fields, so a typo in the source details becomes a typo in every format.
Caption crop. Review the 9:16, 1:1, and 16:9 outputs separately. Vertical posts need captions above the native app controls; square posts need enough padding for feed previews; landscape videos need text that still reads when embedded on a listing page.
Presenter choice. Use the talking-avatar presenter when you need a more personal introduction but cannot record yourself on camera. Keep the script factual: property type, location, best feature, and showing action. The video still starts from listing photos and exports in the same three formats.
For visual reference when planning pacing and layout, compare the output against the real estate video templates page and keep your final version focused on the listing, not a generic promo structure.
Make a listing video
Upload your photos and get a finished video back in about two minutes.

5 listing photos
1 finished video
Frequently asked questions
For agents working from listing photos, PropFade handles the full photo-to-video path: AI animation, voiceover drafted from listing facts, captions, and multi-format export in about two minutes. AutoReel and Momenzo are purpose-built alternatives for agents who film their own footage. InVideo and Animoto cover real estate but were built for broader audiences.
Upload 12 to 20 listing photos in buyer-walk order (exterior first, key rooms, then the standout feature), confirm the price, bed and bath count, and address, then export. A photo-to-video workflow animates each photo, drafts captions and voiceover from the listing details, and renders 9:16, 1:1, and 16:9 formats in about two minutes.
Canva has a no-cost editing tier with real estate video templates you assemble manually and export one format at a time. Purpose-built listing video tools usually offer trial options with terms listed on their respective signup pages.