Real estate video production covers three stages from first shot to final export: pre-production (planning, shot list, and property prep), production (filming or photo-to-video generation), and post-production (editing, music, captions, and format export). You can run all three yourself on a phone, hire a professional crew, or use an AI tool that renders finished videos from listing photos.
This guide walks the full workflow, gives you an on-page shot list and production checklist, maps production styles to costs, and shows the AI path that produces a finished listing video in about two minutes.
What real estate video production involves
Real estate video production is the end-to-end process of planning, capturing, and editing a property video for listing pages and social media. The workflow runs in three stages: pre-production, production, and post-production.
Pre-production is the planning stage. You confirm the listing details (price, beds, baths, square footage, standout feature), write the shot list in the order a buyer would walk the home, and choose the target format before you arrive. Vertical 9:16 fills a phone screen for Reels and TikTok, horizontal 16:9 suits a listing page and YouTube, and 1:1 square works across the main feed. Deciding format before you film saves a reshoot.
Production is the capture stage. A DIY shoot takes one to two hours on site with a phone or mirrorless camera. For the photo-to-video path, you upload 12 to 20 listing photos, and the platform animates each image with motion and generates the footage automatically, no camera required.
Post-production covers editing, music, captions, color, and export. A listing video typically trims to 30 to 90 seconds for social, with captions burned in (captions help in silent autoplay environments and make listing details scannable), a licensed music track synced to the cuts, and a consistent color grade so every room reads at the same warmth.
The real estate video hub maps all three stages to the full content program, and the real estate video services guide covers the done-for-you version of each stage.
DIY production checklist: gear, shots, and settings
A DIY listing video needs four things: a phone that records 4K at 30 fps, a small gimbal for smooth motion, a licensed music track, and a mobile editing app. Total additional gear investment runs under 150 dollars.
Gear list:
- Phone (iPhone 13 or later, comparable Android): records 4K at 30 fps and slow-motion at 120 fps for motion clips
- Gimbal (DJI OM 5 or similar): removes shake from walk-through shots, the single highest-impact upgrade for the money (check current pricing)
- Clip-on microphone (optional): needed for on-camera narration or agent-intro formats
- Editing app: Entry-level tools like CapCut, InShot, or Canva cover cuts, captions, and music
- Music license: a commercial music licensing subscription provides platform clearance (check current service pricing)
Shot order for a 60-second listing tour:
Shoot in walk-through order, the sequence a buyer naturally follows through the home.
60-second listing tour shot order
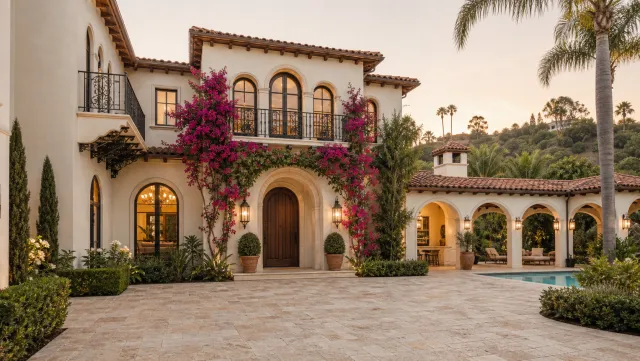
- Exterior approach, slow push toward the front door as the hook.
- Entry or foyer, step-inside reveal.
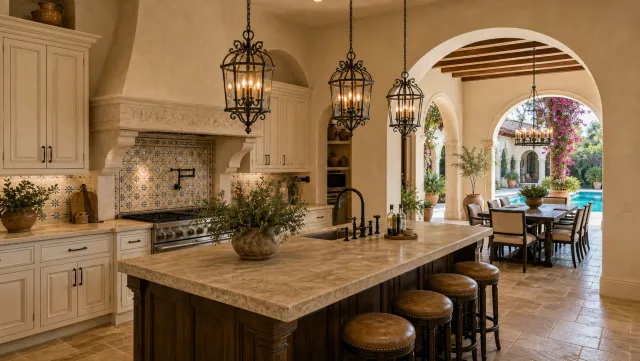
- Kitchen, one slow pan across counters and island.
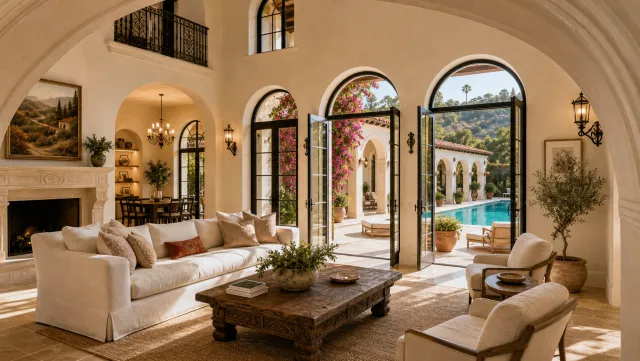
- Main living space, wide shot then one detail.
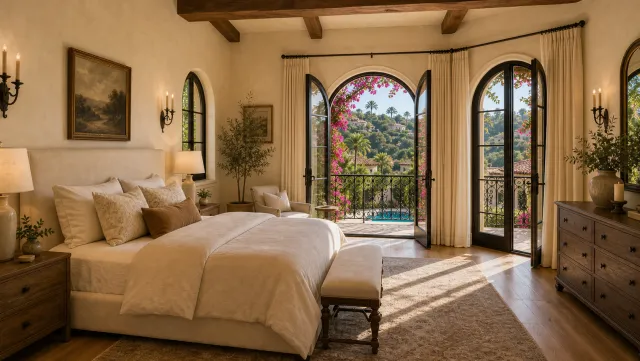
- Primary suite, doorway reveal.
- Standout feature: fireplace, pool, renovated bathroom, or the view.
- Backyard or outdoor space.
- Exterior close on your brand.
Capture each shot twice: a safe take and a better take. Move slowly and keep pans to no faster than two seconds per room width. Fast pans read as amateur regardless of camera quality.
Phone settings for a listing shoot:
| Setting | Value to use | Why it matters |
|---|---|---|
| Resolution | 4K (1080p if storage is tight) | Room to crop and stabilize in post |
| Frame rate | 30 fps standard, 120 fps for slow-motion | Natural motion for property tours |
| Grid | On | Level horizons and centered doorways |
| Exposure and focus | Tap-hold to lock on subject | No flicker walking past windows |
| Orientation | Vertical 9:16 first | Fills Reels, TikTok, and Shorts natively |
| Lens | Wipe clean before each home | Sharp kitchens and bright rooms |
Light the home with what it already has: arrive at midday, open every blind and curtain, turn on all interior lights even in daylight, and film away from bright windows so exterior light reads as depth rather than a blown-out rectangle.
Full production checklist (copy, print, and use today):
Real estate video production checklist
- **Pre-production:** Write one sentence naming the video's goal and the target buyer.
- **Pre-production:** Confirm listing details: price, beds, baths, square footage, standout feature.
- **Pre-production:** Build the eight-shot list in walk-through order.
- **Pre-production:** Set phone to 4K, 30 fps, grid on, vertical 9:16.
- **On-site filming:** Open every blind and curtain, turn on all interior lights.
- **On-site filming:** Wipe the camera lens before the first shot.
- **On-site filming:** Film each shot twice: safe take and better take.
- **On-site filming:** Capture three to five detail shots while on site.
- **Post-production:** Record voiceover separately in a quiet room.
- **Post-production:** Trim each clip to two to three seconds in the edit.
- **Post-production:** Burn in captions and add price, beds, baths, and address as text overlays.
- **Post-production:** Sync cuts to the licensed music beat.
- **Post-production:** Add a brand close at the end.
- **Post-production:** Export vertical for social, landscape for the listing page.
- **Post-production:** Save the project as a reusable style reference for the next listing.
The how to make a real estate video guide covers the editing step in full detail. An AI real estate video editor automates the repetitive caption and format steps across multiple listings.
Production styles and costs for listing videos
Real estate video production costs range from near-zero for a DIY shoot to starting around 1,500 dollars per listing for a full professional crew. Style choice depends on listing price tier, turnaround time, and production volume.
| Production style | Typical cost per listing | Turnaround | Best for |
|---|---|---|---|
| DIY phone shoot | One-time gear cost only | Same day | High-volume agents, any price point |
| AI photo-to-video (PropFade) | Monthly subscription | About 2 minutes | Fast-turnaround listings with an existing photo set; social cuts and standard residential; supplement with crew or drone for luxury tiers |
| Freelance videographer | Starting around 250 to 600 dollars | 1 to 3 days | Mid-market listings needing polish |
| Real estate video company | Starting around 800 to 1,500 dollars | 3 to 7 days | Luxury listings, new construction |
| Full-service production agency | Project pricing | 1 to 2 weeks | Commercial properties, brand campaigns |
Professional crews typically deliver a property walkthrough of two to three minutes, a 30-second social cut, and a drone flyover as a bundle. Costs rise with the listing price tier, the number of deliverable formats, and crew location (urban markets run higher than suburban). Drone footage typically adds 150 to 300 dollars per shoot, and twilight sessions often carry a premium.
For listings in the higher price tiers, buyers often expect drone footage and a full-length tour as a baseline, so a professional crew fits within the commission structure. For lower-priced listings, a clean phone shoot or an AI-rendered video delivers comparable marketing reach at a fraction of the cost, with same-day turnaround.
For a managed ongoing solution, real estate video production services can handle scheduling and delivery across a brokerage’s active listings. A dedicated real estate video production company offers consistent quality at volume, with the tradeoff of lead times: if the listing goes live Tuesday, a two-day turnaround crew needs to be booked before photos are taken.
Produce listing videos from photos without a crew
PropFade generates a finished listing video from photos without a camera or crew. Upload 12 to 20 listing photos, confirm the property details, and the platform renders three formats with voiceover and captions in about two minutes.
This path covers the listings where a camera crew is impractical: vacant homes in winter, a full showing schedule, several new listings launching the same week, or a market where production crews book out weeks ahead.
Every project exports three formats from one photo upload: a 9:16 vertical cut for Reels and TikTok, a 1:1 square cut for the main feed, and a 16:9 landscape cut for the listing page and YouTube. Each format exports at 1080p. You review each cut before publishing.
PropFade drafts the voiceover script from the listing details confirmed at upload, syncs the narration to the animated photo sequence, and generates on-screen captions for price, beds, baths, and address. The full render takes about two minutes per project.
5 listing photos
1 finished video
Produce a listing video without a crew
Upload your photos and get a finished video back in about two minutes.
Frequently asked questions
Real estate video production is the end-to-end process of planning, capturing, and editing a property video for listing pages and social media. It runs in three stages: pre-production (shot list and property prep), production (filming or photo-to-video generation), and post-production (editing, captions, music, and export across formats).
Write a shot list in walk-through order, film each room on a phone set to 4K at 30 fps with the grid on, edit the clips to 30 to 90 seconds with captions and a licensed music track, then export a vertical cut for social and a landscape cut for the listing page. You can also upload 12 to 20 listing photos to PropFade, which renders a finished video with voiceover and captions in about two minutes.
A DIY phone shoot costs only the one-time gear investment (a gimbal runs starting around 80 to 120 dollars). A freelance videographer starts around 250 to 600 dollars per listing, a production company starts around 800 to 1,500 dollars, and full-service agency work is project-priced. An AI photo-to-video tool like PropFade produces videos from listing photos on a monthly subscription, with no crew or scheduling required.